Welcome to the SwiftUI Field Guide
We built this interactive guide to help you build an intuition of how the SwiftUI layout system works. We're happy to get any feedback, do send us an email.
Featured Topics


Alignment
Align views using builtin alignment guides, modify alignment guides and create custom alignment IDs.

Changelog

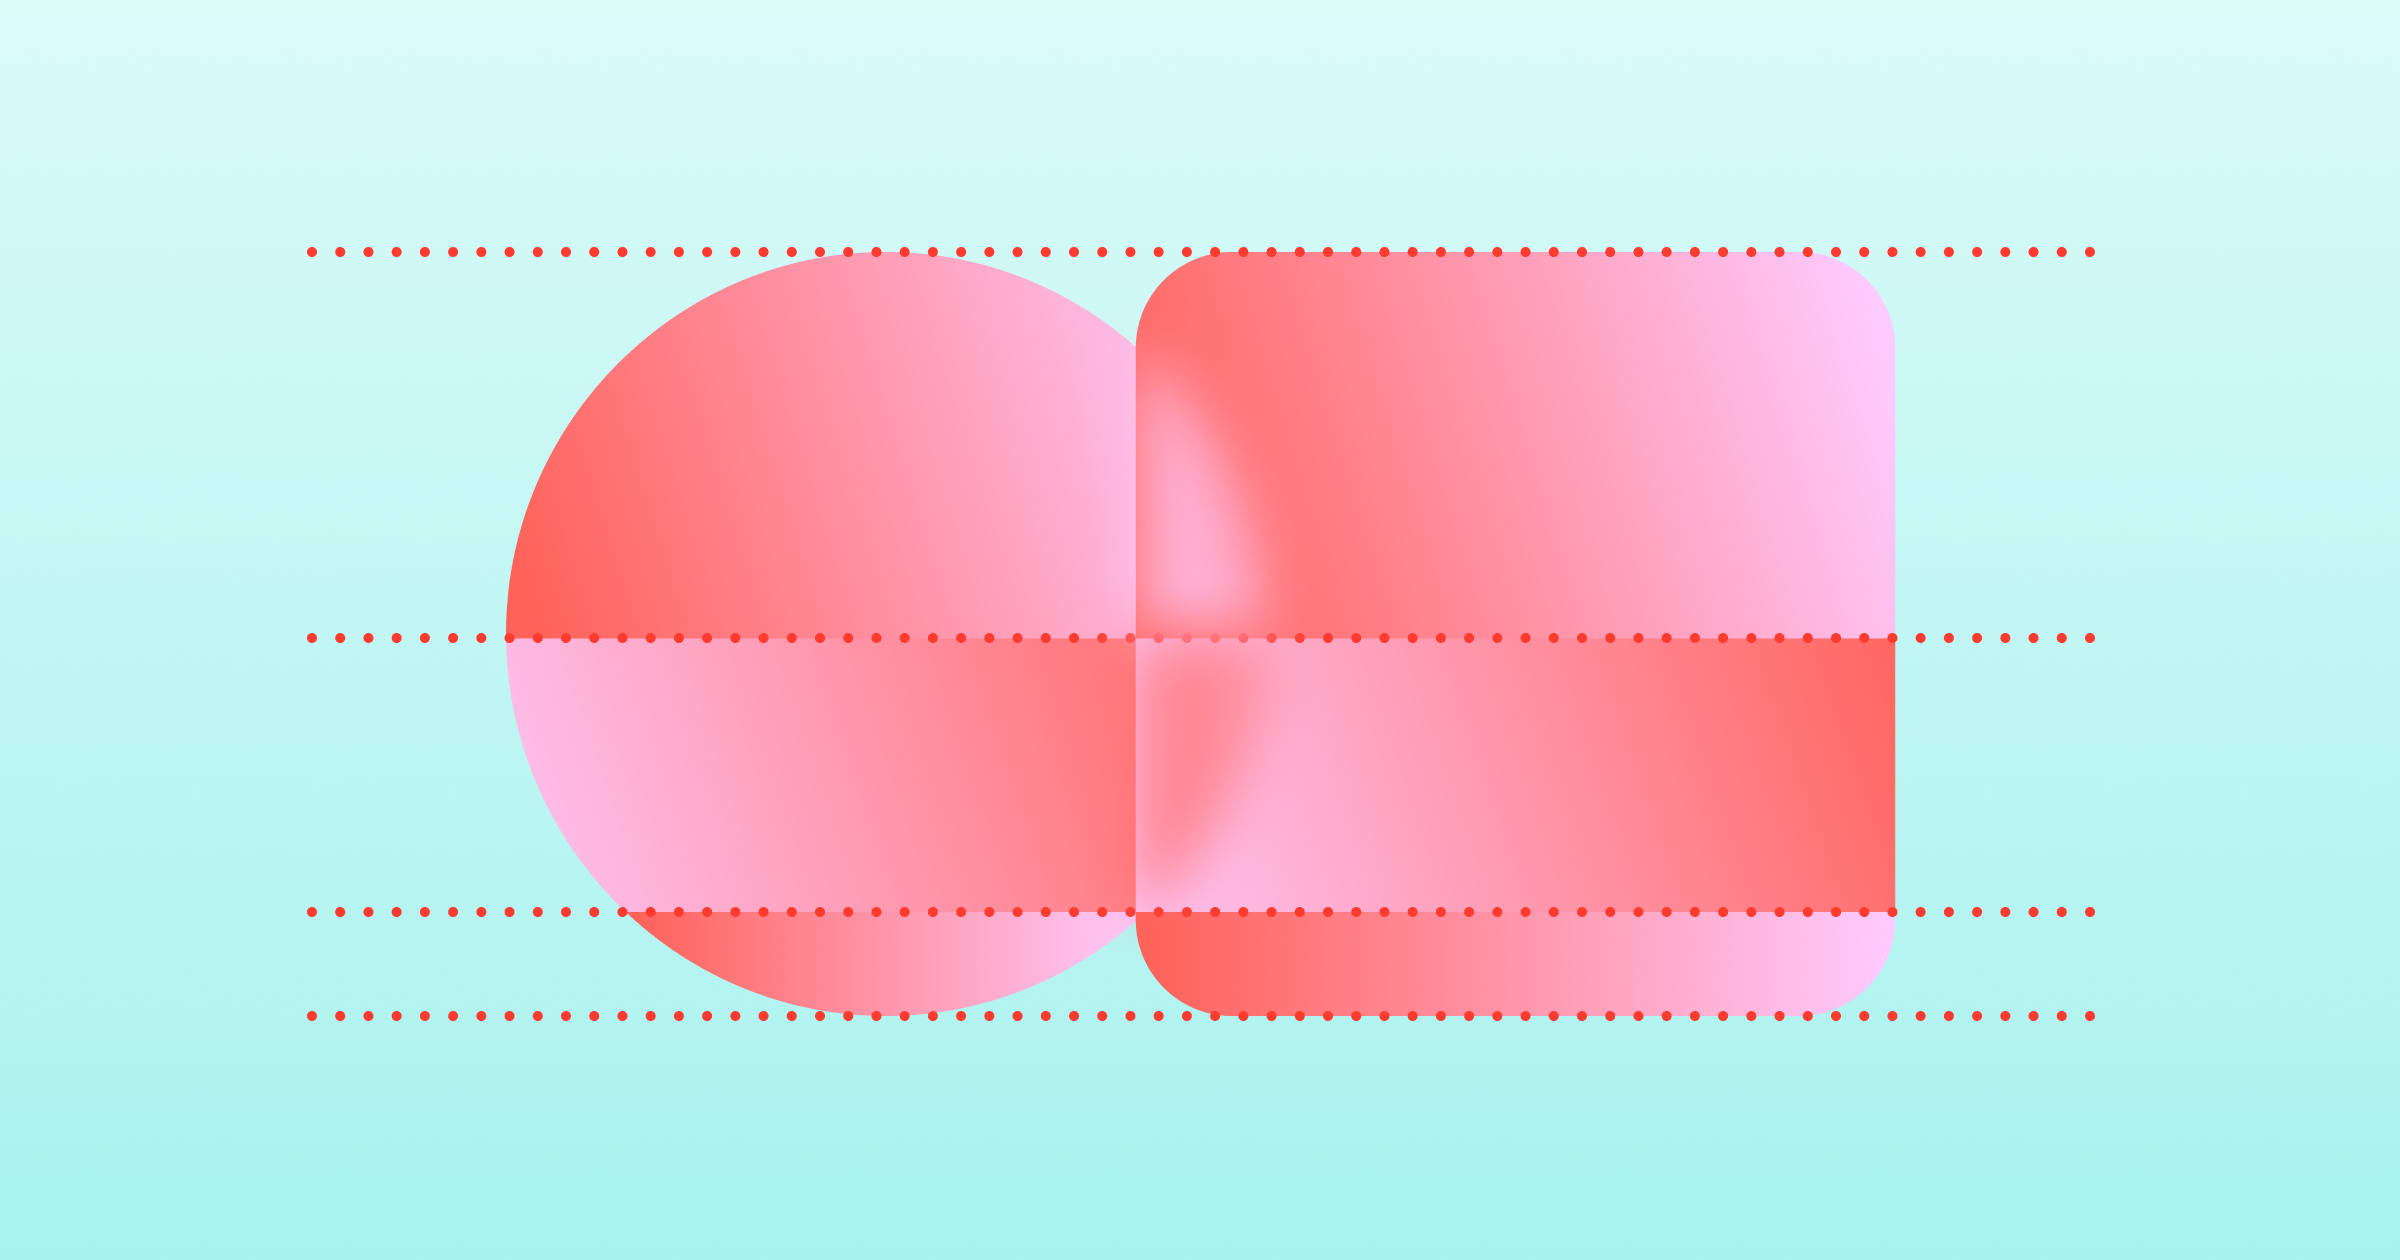
Background
We added a new page about background, including how it interacts with the safe area.

Dynamic Type
Dynamic Typeallows us to scale fonts based on the user's preferences. By combining it with scaled metrics we can make other values scale as well.
LazyVGrid
We added a new page about LazyVGrids. These are a great way to display a grid of items with a large number of items.

ZStack
We added a new page about ZStacks (and how they compare to overlay and background).

Safe Area
We added a new page about the safe area and how to use it in SwiftUI.

Introduction
We finally added an introduction to the layout system, as well as a page with useful debugging techniques.
Custom Alignment IDs
We show how custom alignment IDs help us align views that do not have a direct common parent.
Flow Layout
We show how to build a flow layout using the Layout protocol, with annotated example code.
Stack Alignment
We added an example showing alignment within an HStack. The width distribution visualizations now also have sliders.

Custom Shapes
We added a section about custom shapes and stroke styles.
Hello, world!
We're live now, welcome to the first public release. Keep an eye on this page to see future changes.